Preventing Information Leaks by Sending Data to a Wrong Destination
You can restrict the method to specify destinations with the Fax or Scanner function to avoid sending data to an unintended address.
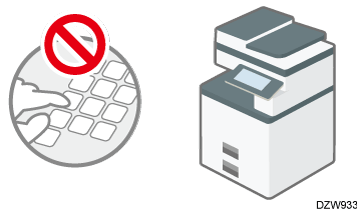
Restricting manual entry of destinations (Restrict Use of Destinations)
Select the destination to send data and prevent incorrect entry.
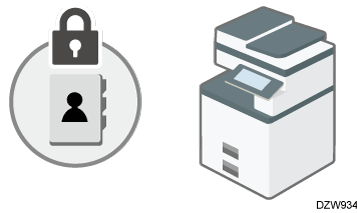
Restricting new registration of destinations in the Address Book (Restrict Adding of User Destinations)
If a wrong destination is registered, you may send data to an unintended destination repeatedly. Disable registering or editing destinations in the address book to avoid sending data repeatedly to a wrong destination.
The user administrator can change the registered information, and the users can change their own password.

You can prevent a fax transmission to a wrong destination with the Fax function.
Log in to the machine as the user administrator on the control panel.
Logging in to the Machine as an Administrator
When custom-privileges administrators are registered, you can log in to the machine as a custom-privileges administrator with the Security privilege as well.
Logging in to the Machine as a Custom-Privileges AdministratorOn the Home screen, press [Settings].
Press [System Settings].
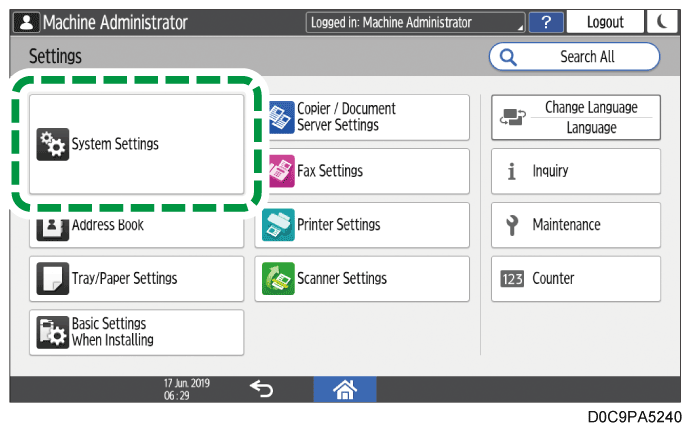
Press [Settings for Administrator]
 [Security]
  [Extended Security Settings].
From the list next to Restrict Use of Destinations (Fax) or Restrict Adding of User Destinations (Fax), select [On].
To restrict the method to specify destinations with the Scanner function, select [On] from the list next to Restrict Use of Destinations (Scanner) or Restrict Adding of User Destinations (Scanner).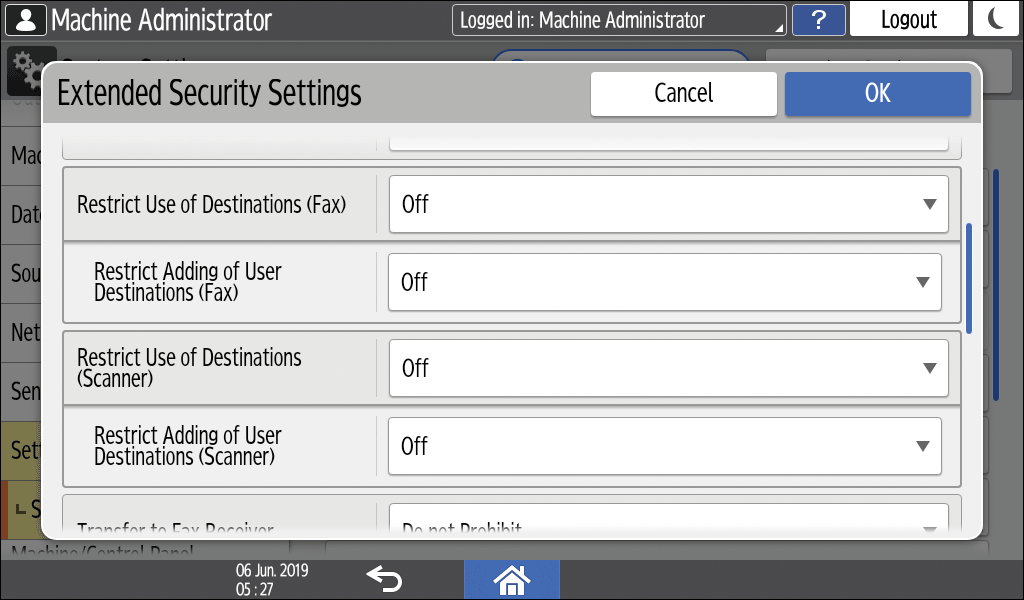
When specifying Restrict Adding of User Destinations first, you can also specify Restrict Use of Destinations.Press [OK].
Press [Home] (
 ), and then log out of the machine.
