Scanning an Original in a Custom Size
Use the following procedure to scan an original in a non-standard size.
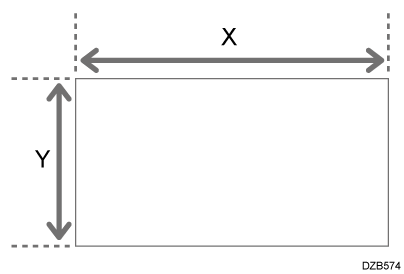
Using a ruler, measure the vertical and horizontal sizes of the original.

Press [Scanner] on the Home screen.

Press [Send Settings] on the scanner screen.

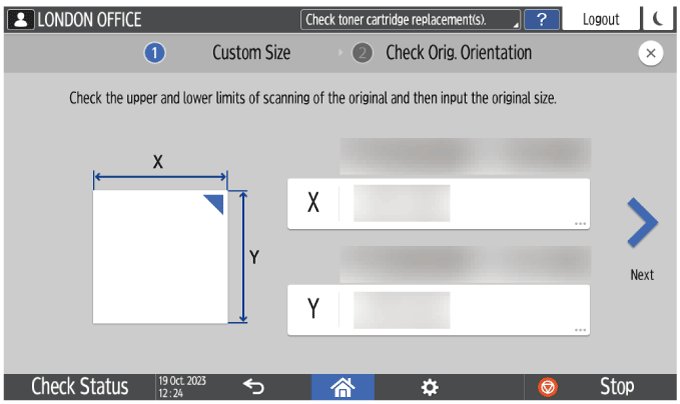
Press [Scan Size]
 [Custom Size].
Enter the values of X and Y that you measured in Step 1 and proceed to the next screen.

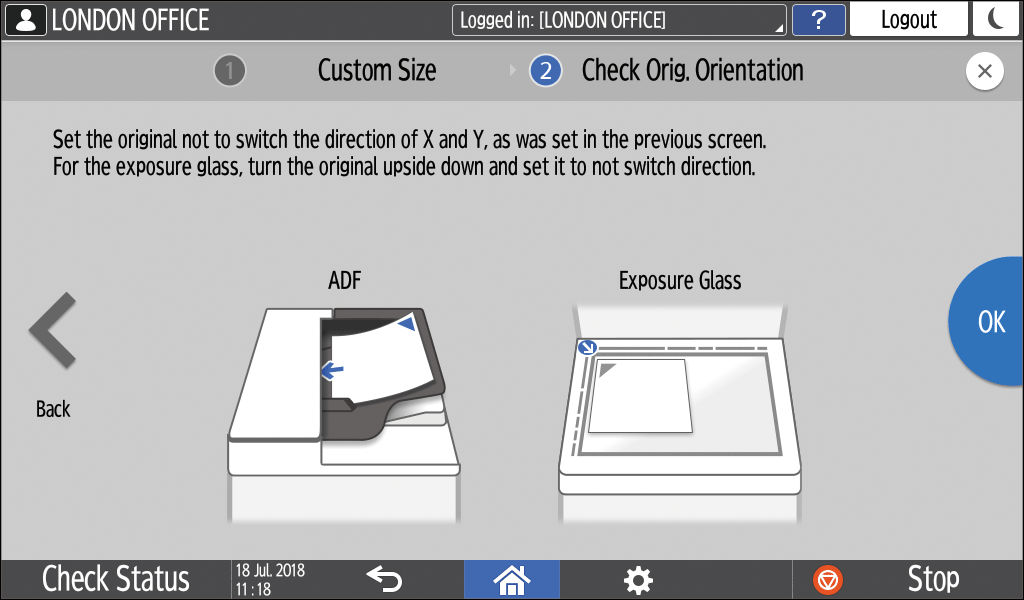
While maintaining the same X-Y orientation as shown, place the original on the machine and press [OK].

Placing an Original to ScanSpecify the scan settings according to the purpose of the scanned data.
Scanning an Original with Suitable Quality and Density
Specifying the File Type or File Name When Scanning a DocumentTo send the scanned document to an e-mail address, press [Sender] and then specify the sender.
When a logged in user is operating the machine, the logged in user becomes the sender.
Scanning Documents and Sending the Scanned Data by E-mailSpecify the destination on the scanner screen, and press [Start].