Saving Documents in Document Server
You can save documents scanned by the machine in the document server.
You can also save them using the printer driver.
Storing Documents to Print in the Machine

Documents saved in the document server are deleted after three days (72 hours) in the factory-default configuration. You can change the period until documents are deleted or specify not to delete documents automatically in [Auto Delete File in Document Server].
Changing the Storage Period of Document Server or Specifying an Indefinite Period
On the Home screen, press [Document Server].

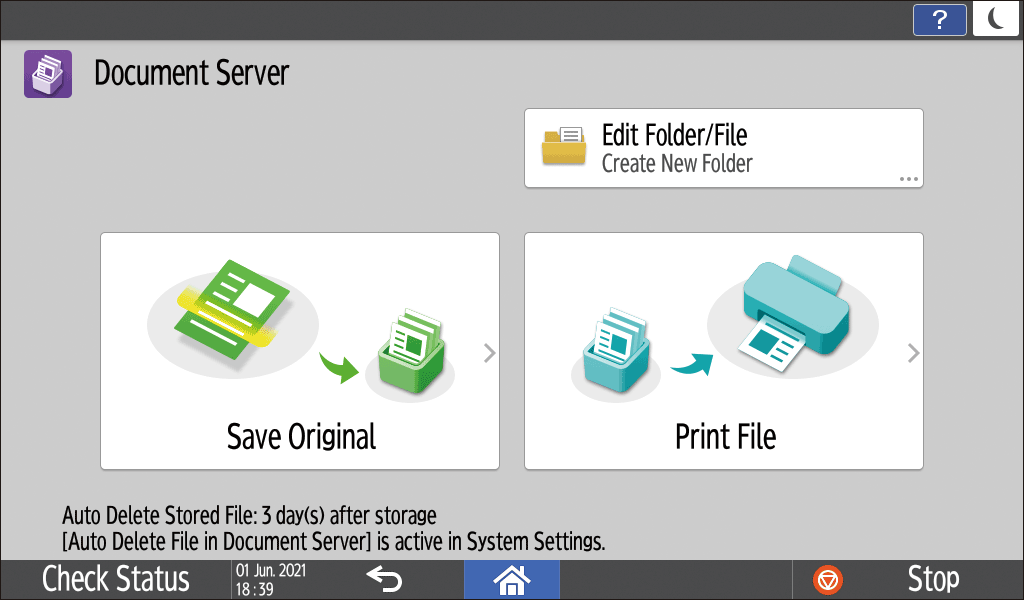
On the document server screen, press [Save Original].

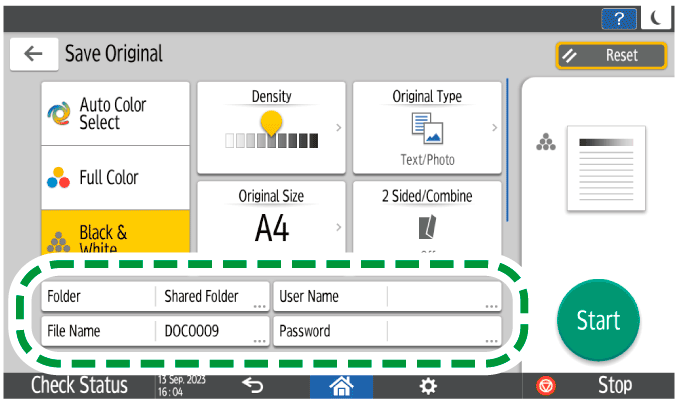
Specify the folder to save documents, the file name, and other settings.

Folder: Select the "Shared Folder" created in the factory default configuration or a user folder created by a user to save the document. To select a user folder, create it in advance. If you select a password-protected folder, enter the password, and then press [OK].
User Name: Specify the user name displayed as the owner of the document. Select a user from the address book or enter the name. Depending on the user authentication settings, [Access Privileges] is displayed. For details about access privileges settings, see the following section:
Specifying Access Privileges for Documents Stored in Document ServerFile Name: Specify the name of the scanned document. If you do not specify the file name, a name such as "DOC0001" or "DOC0002" is assigned automatically.
Password: Specify the password required for printing the document. You can specify a number of 4 to 8 digits as the password.
Place the original.
Place the original in the same way as in the Copy function.
Basic Procedure for Copying DocumentsSpecify the scanning conditions such as original size or color mode.
Press [Start].
When you place the original on the exposure glass, press [Finish Scn] after scanning all originals to save document.
When you place an original on the one-pass duplex scanning ADF and select a paper tray manually, if the orientation or size of the original and the selected tray are different, a warning screen may be displayed after you press [Start]. Select or change the setting by following the instructions on the screen.

When you scan a document whose size is not detected automatically, the scanned document may be saved with a size that differs from the original.
You can specify whether to allow other users to read or edit the saved document.
Specifying Access Privileges for Documents Saved in Document Server
To prevent documents from being deleted automatically, set [Auto Delete File in Document Server] to [Off], and then save the documents.
Even if you change the settings to [Specify Days] or [Specify Hours] after documents have been saved with [Auto Delete File in Document Server] set to [Off], the documents will not be deleted automatically. Only the documents saved after a setting change are deleted automatically.
Changing the Storage Period of Document Server or Specifying an Indefinite Period