Sending a Fax at the Image Quality Suitable for the Original
For a person at the destination to receive a document by fax at optimal quality, specify the scan settings such as Resolution, Density, and Original Type on the [Settings] screen when sending the fax.

You can change the scan settings for each page when using the exposure glass to scan the originals.
When scanning an original with a large number of pages, there may be a long pause between each page depending on the nature of the original or the machine settings.
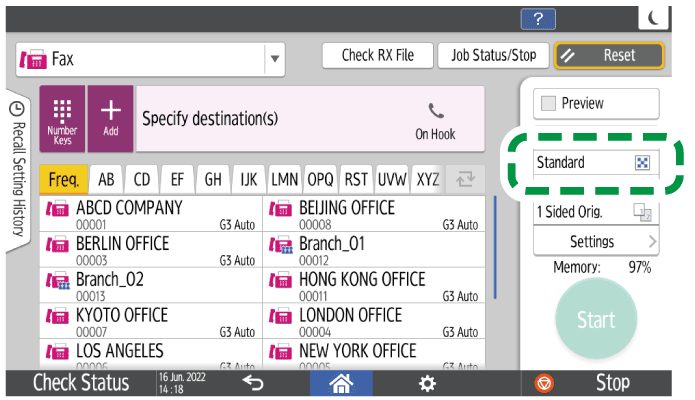
Press [Fax] on the Home screen.
Set the original in the Auto Document Feeder (ADF) or on the exposure glass.
Setting an Original to Send by Fax on the Scanner
To change the scan settings on the middle page while scanning a document, set an original on the exposure glass.Press [Settings], and then specify the scan settings.
Resolution
The resolution for scanning an original increases in the order of [Standard], [Detail], [Super Fine]. Select [Super Fine] for text on a standard newspaper or of a similar size and select [Detail] or [Standard] for text of a slightly larger size or handwritten text.
You need to attach the optional unit to the machine to select [Super Fine].
Functions Requiring Optional ConfigurationsDensity
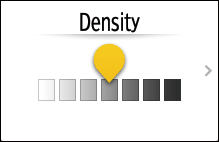
Adjust the scan density when the background color appears too dark, or text too faint. The scanned color darkens as you move to the right.
When scanning an original with dark colored text on a heavily tinted background such as newspaper, press [Density] and then select [Auto Density].
[Auto Density] is selected automatically when you specify [Text], [Text / Line Art] or [Text / Photo] in [Original Type].
When selecting [Photo] in [Original Type], [Auto Density] is not selected automatically. If you want to set [Auto Density], select it manually.Original Type
Item
Suited for
Text
A document mainly consisting of clearly discernible text in black and white. Requires less time to scan than [Text / Line Art]. The transmission time is the shortest.
Text / Line Art
A document consisting of tables, charts, and figures in black and white. Higher quality than [Text].
Text / Photo
A document consisting of both clearly discernible text in black and white, and colored tints.
Photo
An image with tints such as photo, or color image.
After configuring the send settings, specify the destination on the fax screen, and send the fax.
When scanning an original on the exposure glass and sending it by Memory Transmission, change the scan settings and set the next original within 60 seconds after pressing [Start]. The machine scans and sends the original with the newly specified scan conditions.
Basic Procedure for Transmitting Faxes
Basic Procedure for Sending Internet Faxes
Basic Procedure for Sending IP-Faxes

If the receiving fax at the destination does not support the specified resolution, the resolution is selected automatically according to the feature supported on the receiving fax. You can see the actual resolution of the sent fax in Records.
Viewing the History of Sent and Received Faxes
To send a fax in [Super Fine] mode to an Internet Fax destination, the receiving device at the destination must support this mode, and the destination address be registered as supporting the full mode in the address book of the machine.
Programming the Performance Details Information of an Internet Fax DestinationYou can also select the resolution from the fax screen. Press an item on the screen to select it.
