How to Use the "Settings"
Press [Settings] on the Home screen to change the settings of the machine, edit the address book, or confirm various information.
The "Settings" screen consists of the menus shown below.
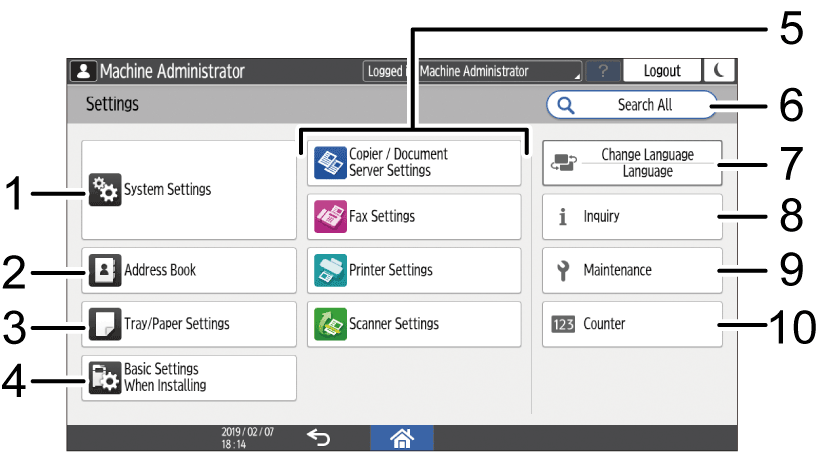
System Settings
Specify the operation panel display, machine operation settings, operation sounds, timer, network settings and other settings.For the list of setting items, see "System Settings Items" in Settings.
Address Book
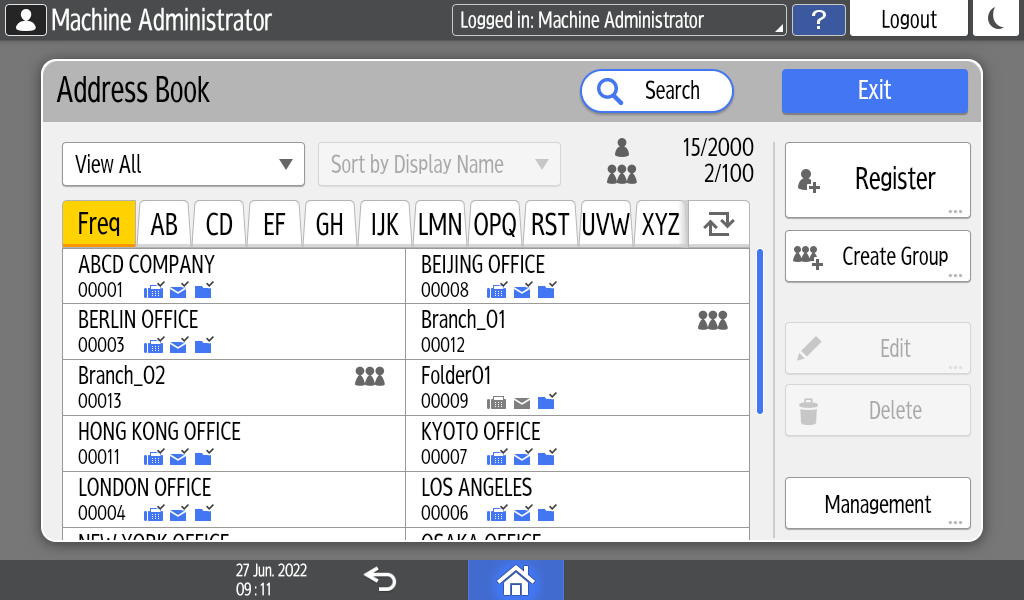
Manage the destination for sending data from the fax or scanner or the authentication information for logging in to the machine.
You can start operation by pressing [Address Book] on the Home screen.
Tray/Paper Settings
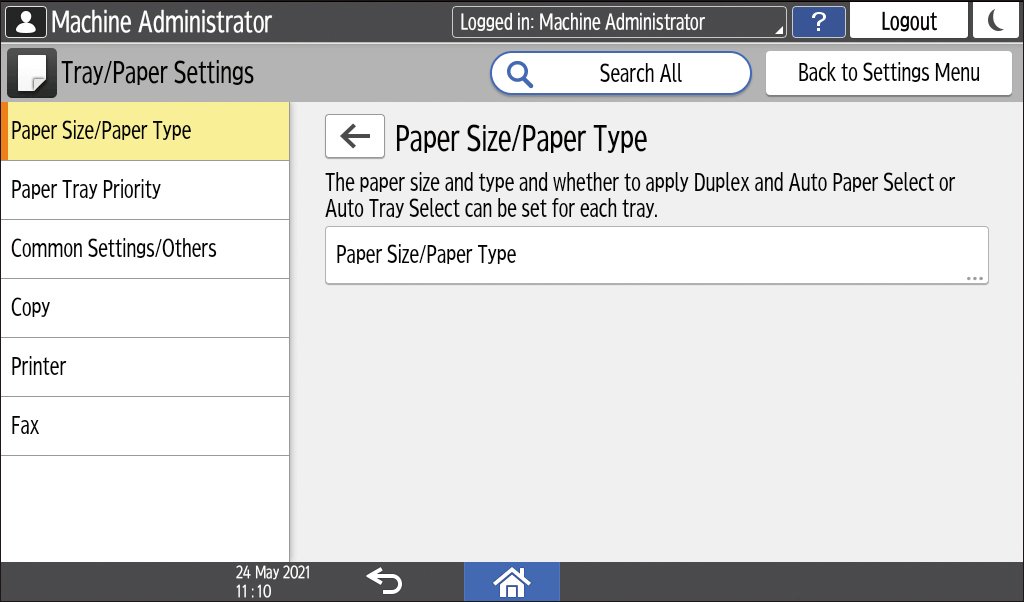
Specify the size and type of paper set in the paper tray.Basic Settings When Installing
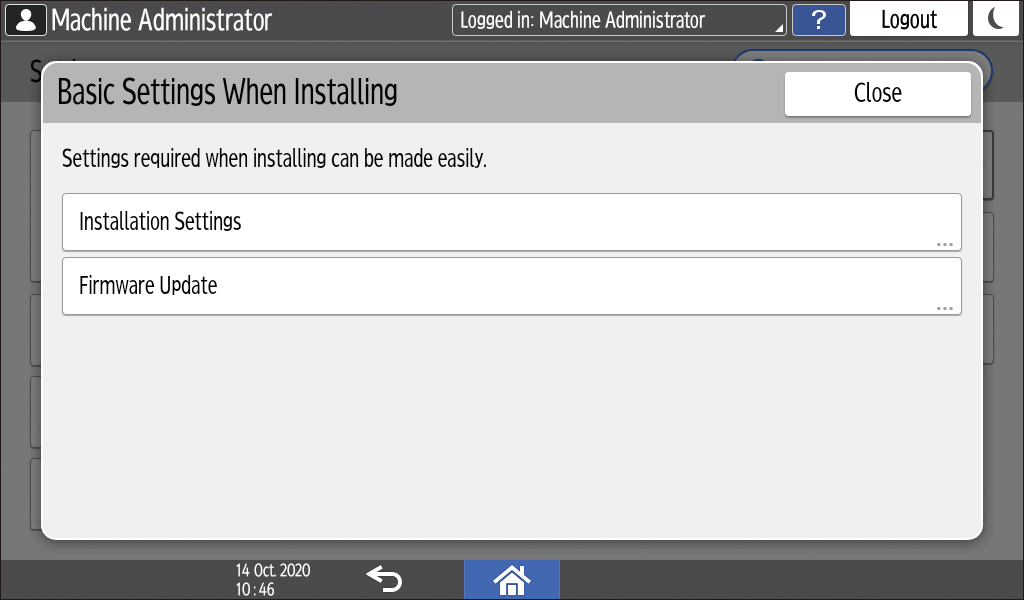
You can configure the settings easily when installing the machine.
On the "Installation Settings" screen, you can specify the settings for the items shown below in Wizard format when the machine is moved to a different location or the environment in which the machine is used changes. In [Cloud Settings], you can register or unregister the machine with RICOH Smart Integration. Also, you can change settings related to Cloud Services by using the Cloud Settings.
Basic Settings
Network Settings
Cloud Settings
Fax Settings
On the [Firmware Update] screen, you can update the firmware of the machine.
On the "Scan to Folder Helper", you can easily specify the destination to send the scanned data to a computer.
Application Settings
Change the settings for the Copier, Document Server, Fax, Printer, and Scanner functions.For the list of setting items, see "Copier/Document Server Settings Items", "Fax Settings Items", "Printer Settings Items", and "Scanner Settings Items" in Settings.
Search All
You can search for a setting item by entering a keyword. Enter more than one keyword to narrow down the search results.Change Language
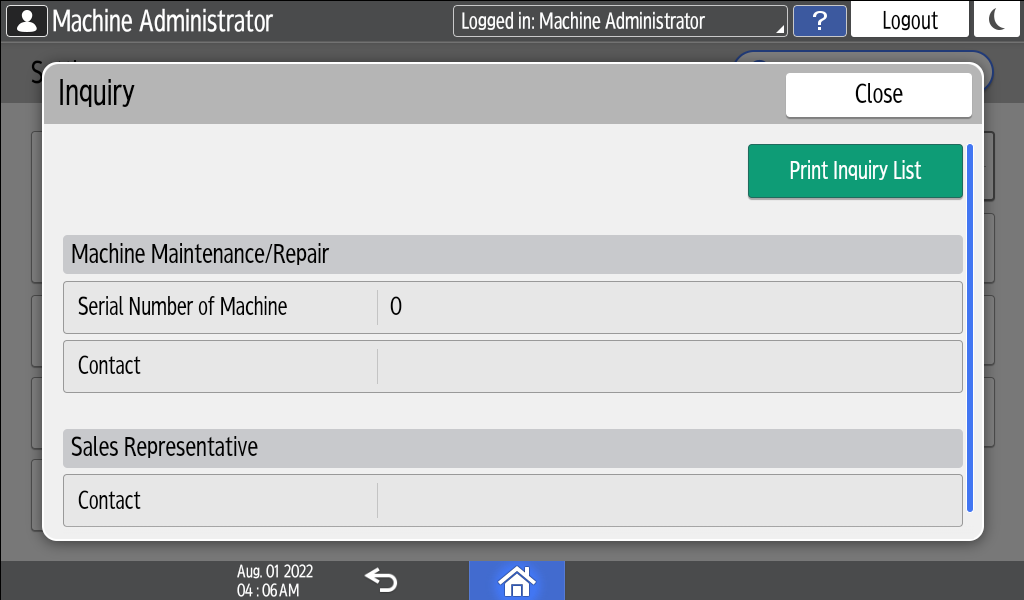
You can change the language displayed on the control panel.Inquiry
Maintenance
You can adjust the balance of each toner and the color registration.Counter
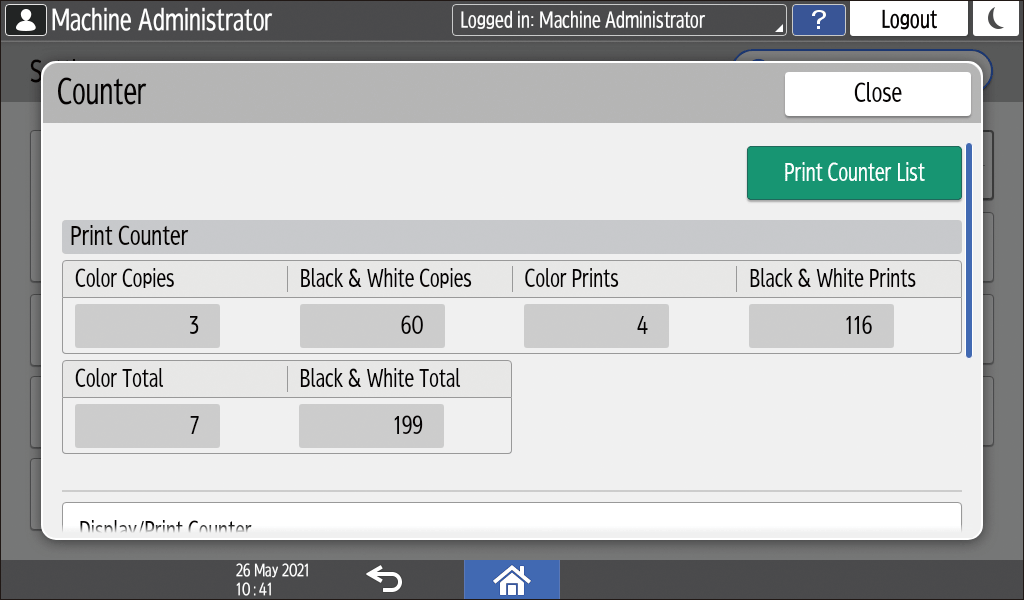
Display and print the total number of sheets printed for each function.

If administrator authentication has been set, contact the administrator to change the settings.
When you are finished performing an operation, press [Home] (
 ) to return to the normal screen.