Basic Procedure for Copying Documents
Set the original on the exposure glass or auto document feeder (ADF) to make a copy.

If the previous setting is still active, press [Reset] before copying.
Press [Copy] on the Home screen.
Place the original.
Placing an Original on the Exposure Glass
Placing an Original in the Auto Document Feeder (ADF)
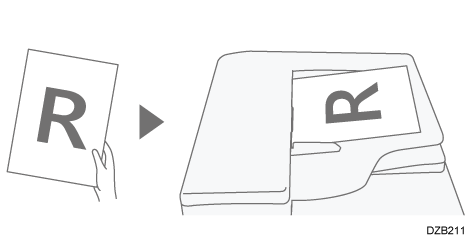
To copy both sides of the paper, confirm the orientation of the original according to how you want the printout to appear.Basic Original Orientation
Place
Orientation
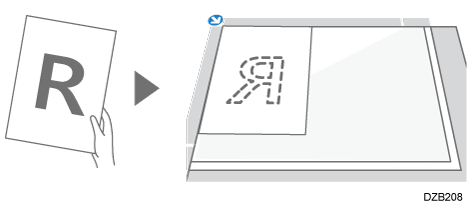
Exposure Glass
Place the original face down in a readable orientation.
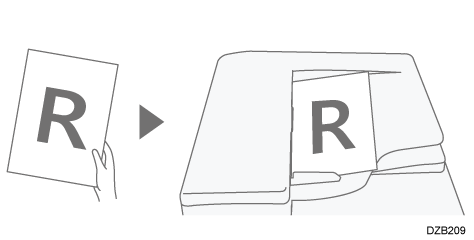
ADF
Place the original face up in a readable orientation.
When the Original Cannot Be Placed in a Readable Orientation
When copying originals of the following sizes, place it as shown below, and then specify [Original Orientation].
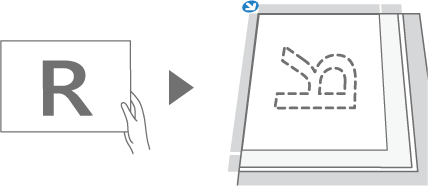
When placing on the exposure glass
The landscape original larger than A5 or 8 1/2" × 5 1/2" (LT) (A4 or 8 1/2" × 11"(LT))When placing on the ADF
The portrait original larger than A4 or 8 1/2" × 11" (LT) (A3 or 11" × 17")
Place
Orientation
Exposure Glass
Rotate the original clockwise or counter-clockwise 90 degrees and place it face down.
ADF
Rotate the original clockwise or counter-clockwise 90 degrees and place it face up.
Press [Original Setting/Store File]
 [Original Orientation] on the Copy screen.
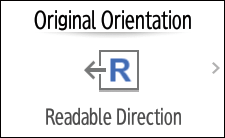
When you place the original face up in a readable orientation, this setting is not necessary if [Readable Direction] is displayed on the key. Placing of the original is completed.Specify the Original Orientation.
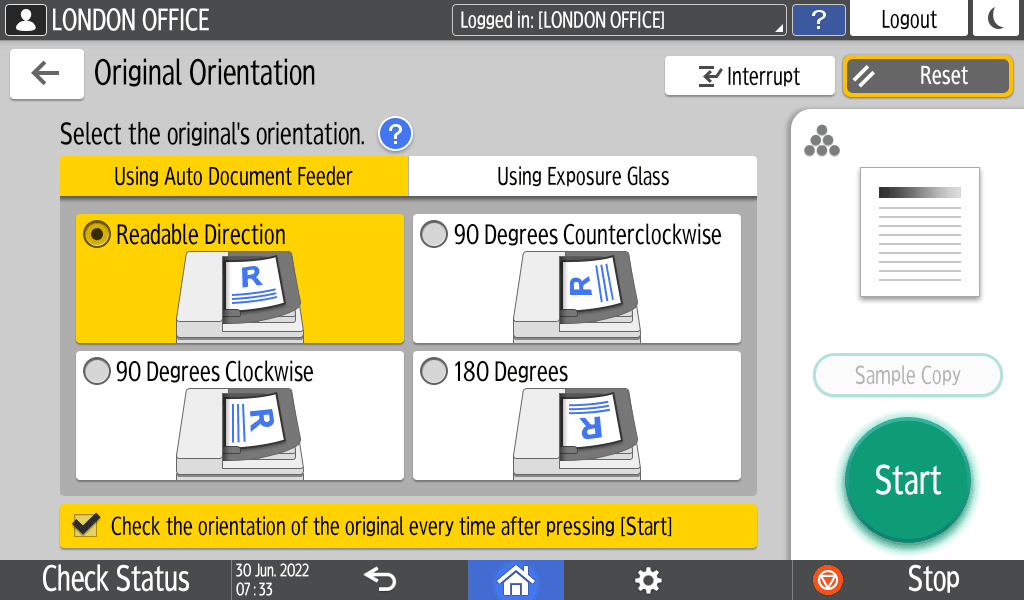
If the display of this screen is not necessary when you press [Start], clear the [Check the orientation of the original every time after pressing [Start]] check box.
Placing of the original is completed.Press [
 ] or [
 ] in [Quantity] to specify the number of copies.
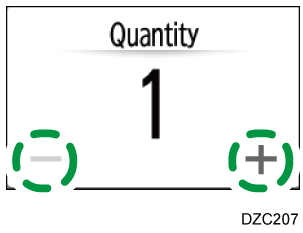
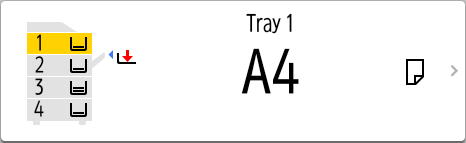
You can enter this using the keyboard after pressing [Quantity] or a number.Press the paper tray select key and select the paper to use as necessary.
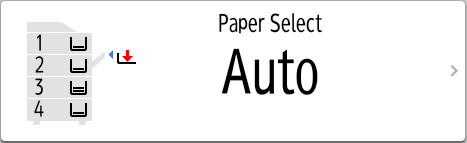
When you select [Auto Paper Select], the paper suitable for the original is selected automatically. When the orientations of the original and paper in the paper tray do not match, the machine rotates the copied image 90 degrees automatically.
If the size of the original is not detected properly or when you make a copy on paper of a special size, specify the paper tray in which the paper to use is loaded.
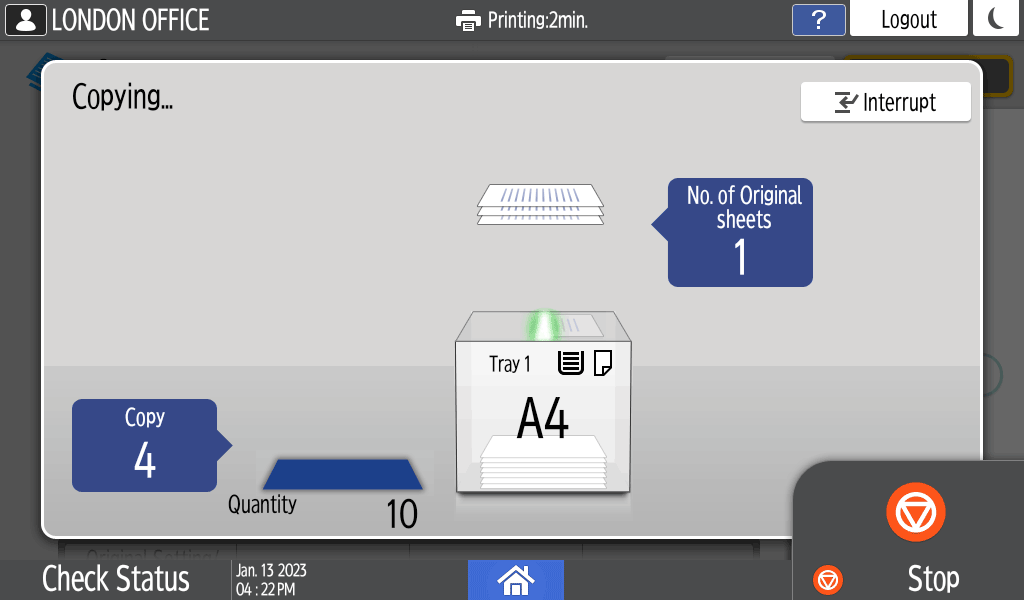
Press [Start].
The confirmation screen for the original orientation may be displayed depending on the settings. Select the original orientation as necessary. If you do not need to select this each time, clear the [Check the orientation of the original every time after pressing [Start]] check box.
When you place the original on the ADF, the process of copying the original starts.
When you place the original on the exposure glass, the copy process starts according to the setting contents. To make a copy of the second page or back side of the original, place the original accordingly on the exposure glass, and then press [Start]. Press [Finish Scn] after scanning all originals if necessary according to the setting contents.

If you scan the originals in advance, then even if paper runs out or an error occurs, copying is performed automatically when the machine is ready to execute copying.
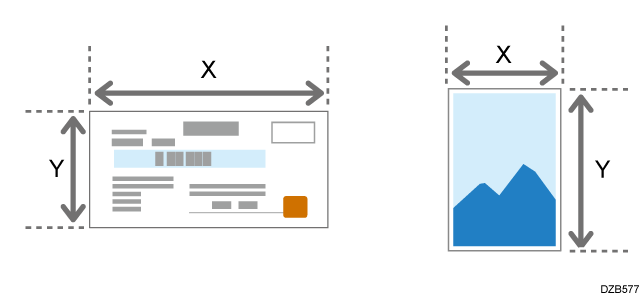
To copy a custom size original, specify the horizontal and vertical sizes of the original in numeric values.
You cannot specify this function together with Auto Paper Select. If the Auto Paper Select is specified, press the paper tray select key and select the paper tray to use.
Measure the vertical (Y) and horizontal (X) lengths of the original.
Press [Copy] on the Home screen.
Place the original.
Basic Procedure for Copying Documents
For details about the sizes of originals that you can place, see the following section:
Recommended Original Size and WeightPress [Original Setting/Store File]
[Original Size] on the Copy screen.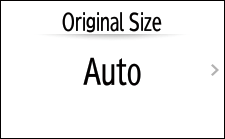
Press [Custom Size].
Enter the values of X and Y that you measured in Step 1, and then proceed to the next screen.
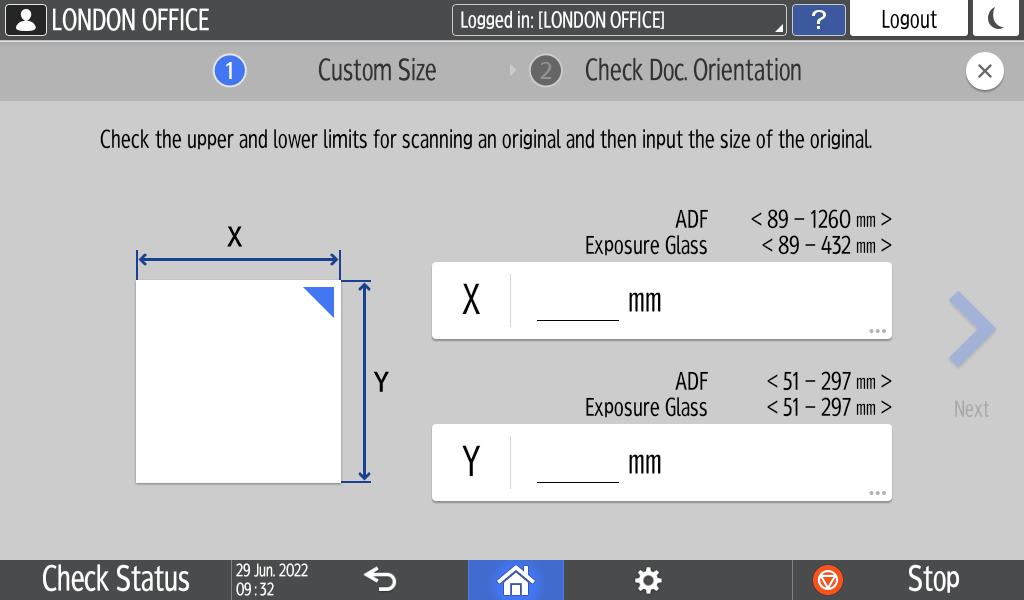
Check that the orientation of the original is specified correctly, and then press [OK].
Press the paper tray select key and select the paper to use as necessary.
Press [Start].
When [Reserve] is displayed on the execution screen of the current copy job, you can scan the original of another copy job to execute after the current job is completed (Job Preset).
You can make reservations for up to eight jobs each in the Copier and Document Server functions.
The optional SSD option or HDD option is required to use this function.
Functions Requiring Optional Configurations
Press [Reserve] on the execution screen of a copy job.

Place a new original to scan on the machine.
Basic Procedure for Copying DocumentsSpecify 2 sided, Combine, Sort, and other copy settings if necessary.
Duplex Copying
Combining and Copying a Multi-page Original onto a Single Sheet of PaperPress [Reserve Start].
The machine starts scanning the placed original.
After the current copy job is completed, the reserved copy job starts automatically.
To cancel the last reserved job or confirm the content of the current job, press [Job Confirmation].
You can confirm and cancel reserved contents on the [Check Status] screen. For details, see the following section:
When [Interrupt] is displayed on the copy processing screen, you can pause the current copy to scan and copy another original (Interrupt mode).
Press [Interrupt] on the execution screen of a copy job.
When the scanning stops, remove the original being copied.
Place a new original to scan on the machine.
Basic Procedure for Copying DocumentsSpecify 2 sided, Combine, Sort, and other copy settings if necessary.
Duplex Copying
Combining and Copying a Multi-page Original onto a Single Sheet of PaperPress [Interrupt Start].
When the Interrupt mode is finished, remove the original and copied paper.
Press [Cancel Interrupt].
If the scanning of the original was interrupted in Step 2, reset the rest of the original onto the machine, and press [Start].
The previous copy job settings are restored. Simply press [Start] to continue copying from where it left off.
You cannot use the Interrupt mode while scanning a fax original.