![]() Display the initial settings screen.
Display the initial settings screen.
When using the standard operation panel
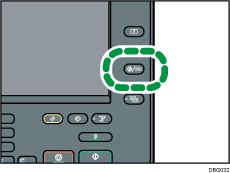
Press the [User Tools/Counter] key.

When using the Smart Operation Panel
Press the [Home] key on the top left of the control panel. Flick the screen to the left, and then press the [User Tools] icon (
 ) on the Home screen 4.
![]() Press [Maintenance].
Press [Maintenance].
![]() Press [Auto Color Calibration].
Press [Auto Color Calibration].
![]() Press [Start].
Press [Start].
To perform auto color calibration using the copy function, press [Start] in Copier Function. To perform auto color calibration using the printer function, press [Start] in Printer Function.
![]() Press [Start Printing].
Press [Start Printing].
When performing auto color calibration using the printer function
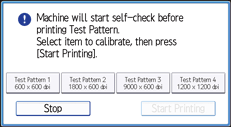
Select test patterns from [Test Pattern 1 600 × 600 dpi], [Test Pattern 2 1800 × 600 dpi], [Test Pattern 3 9000 × 600 dpi], or [Test Pattern 4 1200 × 1200 dpi], and then press [Start Printing].

![]() Place the test pattern on the exposure glass, and then press [Start Scanning].
Place the test pattern on the exposure glass, and then press [Start Scanning].
![]() Close the initial settings screen.
Close the initial settings screen.
When using the standard operation panel
Press the [User Tools/Counter] key.
When using the Smart Operation Panel
Press [User Tools/Counter] (
 ) on the top right of the screen.
![]()
The test pattern will not be read if it is set into the ADF.
The test pattern will be printed on an A4, 81/2 × 11 size page. If this paper size is not available, 81/2 ×14 will be used. Make sure to check the paper loaded in the paper tray.
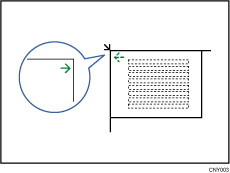
Set the test pattern in the following way:

Make sure to set the test pattern on the exposure glass, and then two or three white sheets, same size as the test pattern, above the test pattern.
