Registering Destinations in the Address Book from the Fax Screen
You can register a fax destination in the address book on the fax screen without opening the Settings screen. You can also register a destination that has been entered manually or from the transmission history.

You can also register a destination by pressing [Address Book] on the Home screen.
Registering a New Destination from the Menu
 Press [Fax] on the Home screen.
 Press
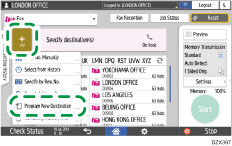
Press  on the fax screen and select [Program New Destination].
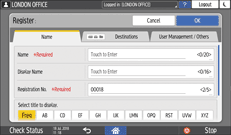
 Enter the information of the destination and select the title to classify the destination.
 Select the [Destinations] tab and then press "Fax" or "Email Address".
To register a fax or IP-Fax destination or an Internet Fax destination, press [Not Programmed] under "Fax" or "Email Address" respectively.
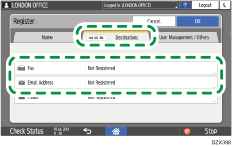
 Specify the fax number, IP address, e-mail address, and other information.
 Press [OK].
 Press [Home] (
 ) after specifying the settings.
Registering a Destination Entered Manually When Sending a Fax or from the Transmission History
 Press [Fax] on the Home screen.
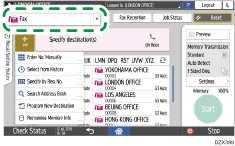
 Select [Fax] or [Internet Fax] on the fax screen.
 Place the original in the ADF or on the exposure glass.
 Press [Settings] and then specify the scan settings.
Sending a Fax at the Image Quality Suitable for the Original
 Specify the destination.
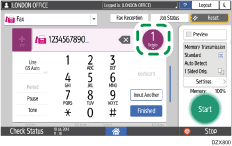
When entering manually
Press
 , select [Enter with Number Keys], and then enter the destination.
To enter the IP-Fax address manually, select [IP-Fax H.323] or [IP-Fax SIP] in [Line Type] and then enter the destination.
Press
 .
.
Specify the destination that was entered manually and press [Reg. to Add. Book].
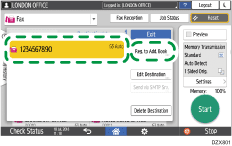
Enter the additional information such as [Name].
When selecting from transmission
Press
 and specify [Select from History].
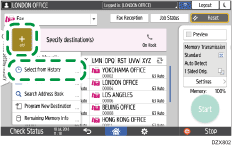
Select a destination from the transmission history and press [Register].
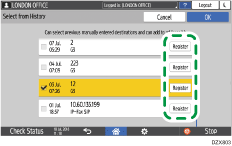
Enter the additional information such as [Name].
 Press [OK] after registering the information, and then press [Start].
