Configuring the IP Address and Other Settings of the Device Server Option
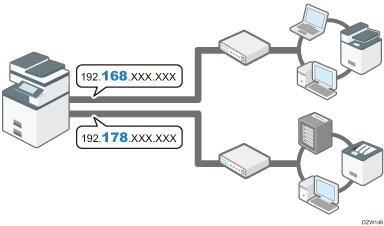
On the control panel of the machine, specify the network information on the device server option to connect to a server on a network segment separate from the network on the mainframe at the same time.

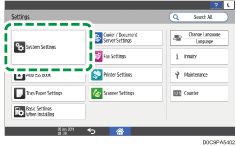
 On the Home screen, press [Settings].
 Press [System Settings].

 Press [Network/Interface]
 [Optional Network].
 Change the network settings.
When you change the setting of [Machine IPv4 Address] to [Auto-Obtain (DHCP)], the machine obtains the IP address from the DHCP server automatically.
When specifying the settings for the network manually, the setting items and default values are as described below.
Specify them according to the network environment.
Machine IPv4 Address: Specify/192.168.100.100
Subnet Mask: 255.255.255.0
IPv4 Gateway Address: 0.0.0.0
Machine IPv6 Address: ::
IPv6 Gateway Address: ::
IPv6 Stateless Address Autoconfiguration: Active
DHCPv6 Configuration: Inactive
Effective Protocol
IPv4: Active
IPv6: Inactive
Ethernet Speed: Auto Select
WINS Configuration: On (Primary WINS Server: 0.0.0.0, Secondary WINS Server: 0.0.0.0, Scope ID)
Host Name
 After completing the configuration, press [Home] (
 ).
).

To print via the device server option, specify the IP address set with the procedure above to install the printer driver.
If you forget the IP address of the device server option or cannot connect the machine to the network, restore the factory default settings by following the procedure below.
Turn the main power switch of the machine off.
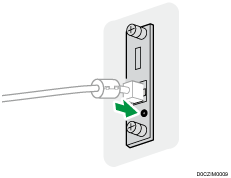
While pressing the switch on the device server option with the tip of a pen, turn the main power switch of the machine on.
Keep the switch held down until Step 4 is completed.

Confirm that the top and bottom LEDs of the Ethernet port light.
When the top LED turns off and the bottom LED lights in yellow, release the switch on the device server option.
You can specify the delivery destination for jobs executed from the enhanced print server.
