Installing the Printer Driver for USB Connection (Windows)
When you connect the machine and the computer with a USB cable, the installer searches for the machine to install the printer driver.

Follow the instructions of the installer to connect the USB cable.
Manage Printers permission is required to install the driver. Log on as an Administrators group member.

If the "User Account Control" dialog box appears in driver installation procedure, click [Yes] or [Continue].
If the "Windows Security" dialog box appears in driver installation procedure, click [Install this driver software anyway].
Installing the Printer Driver from the CD-ROM
 Set the CD-ROM in the computer.
If the installer does not start automatically, double-click [Setup.exe] in the root directory of the CD-ROM.
 Select a language, and then click [OK].
 Click [Install from Disk].
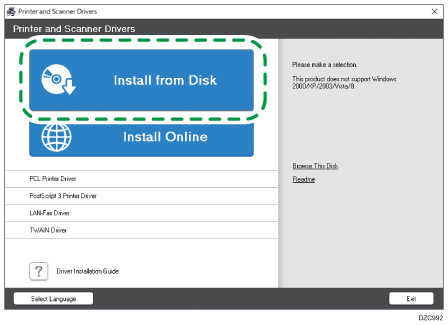
 Click [USB printer(s)].
 On the "License Agreement" screen, select [I accept the agreement], and then click [Next].
 Select [Add a new printer], and then click [Next].
 Select this machine from among the devices, and then click [Next].
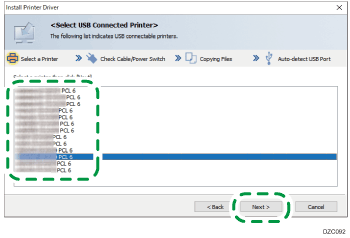
 Disconnect the USB cable from the machine and turn off the power of the machine, and then click [Next].
Printer driver installation starts.
 Following the instructions on the "Auto-detect USB Port" screen, connect the machine and the computer with the USB cable, and then turn on the power of the machine.
The search detects the machine connected by the USB cable.
If the machine is not detected, click [Stop Auto-detecting]. Even if the connection is canceled, the installation is complete. After the installer screen is closed, the machine is added automatically when it is connected to the computer with the USB cable.
 Click [Finish].
Installing the Printer Driver from the Downloaded File
 Double-click the downloaded file.
 Confirm where to install, and then click [Extract] or [Install].
If the "Security Warning" screen is displayed, click [OK].
If the "User Account Control" screen is displayed, click [Yes] or [Allow].
 On the "End User License Agreement" screen, click [Agree and Go to Next].
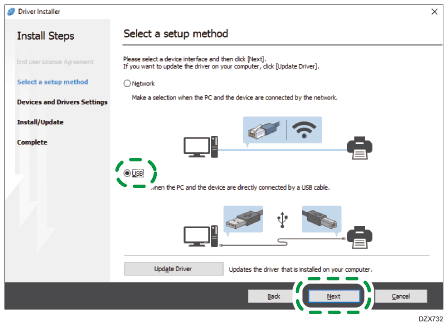
 Select [USB], and then click [Next].
 Select the machine to use, and then click [Next].
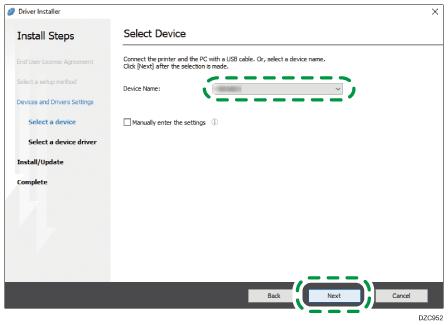
Printer driver installation starts.
 Following the instructions on the "Connect with device" screen, connect the machine and the computer with the USB cable, and then turn on the power of the machine.
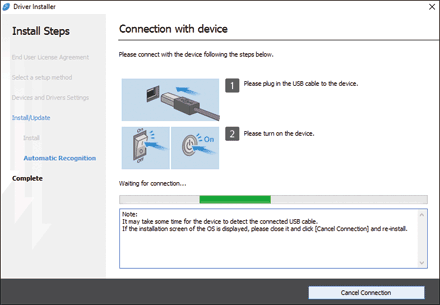
The search detects the machine connected by the USB cable.
If the machine is not detected
"Cannot connect with device." is displayed. Click [Retry] and perform the procedure again following the instructions on the "Connection with device" screen.
If the machine is not detected, click [Cancel Connection]. Even if the connection is canceled, the installation is complete. After the installer screen is closed, the machine is added automatically when it is connected to the computer with the USB cable.
 When the installation is complete, click [Finish].
