Procedure for Date Stamp (classic)
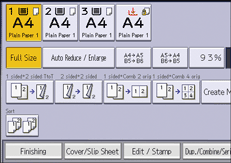
![]() Press [Edit / Stamp].
Press [Edit / Stamp].

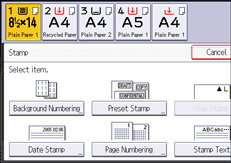
![]() Press [Stamp] twice.
Press [Stamp] twice.
![]() Press [Date Stamp].
Press [Date Stamp].

![]() Press [Change Format].
Press [Change Format].
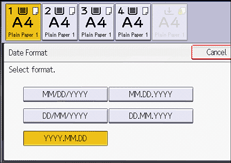
![]() Select the date format, and then press [OK].
Select the date format, and then press [OK].

![]() Press [Change] under [Stamp Position].
Press [Change] under [Stamp Position].
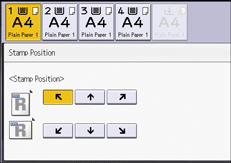
![]() Select the stamp position, and then press [OK].
Select the stamp position, and then press [OK].

![]() Press [All Pages] or [1st Page Only] to select the print page.
Press [All Pages] or [1st Page Only] to select the print page.
![]() Press [OK] three times.
Press [OK] three times.
![]()
For details about stamp positions, see Stamps.
You can change the settings for Date Stamp under [Date Stamp] in User Tools. For details, see Date Stamp (Copier / Document Server Features).
