Saving a Scanned Original on a USB Flash Memory Device
Use [Print/Scan (Memory Storage Device)] to save the scanned data to a USB flash memory device.

|
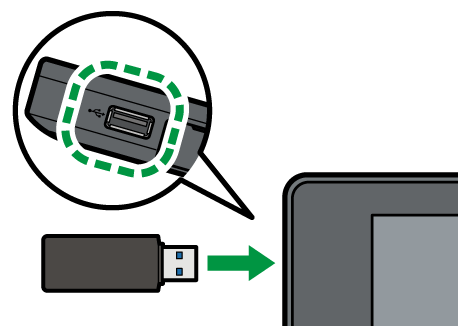
Insert the USB flash memory device into the media slot on the left side of the control panel.
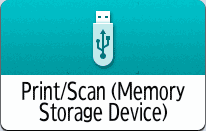
Press [Print/Scan (Memory Storage Device)] on the Home screen.
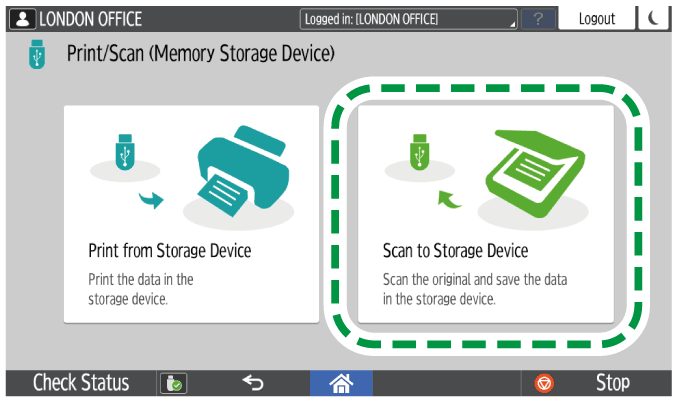
Press [Scan to Storage Device] on the [Print/Scan (Memory Storage Device)] screen.
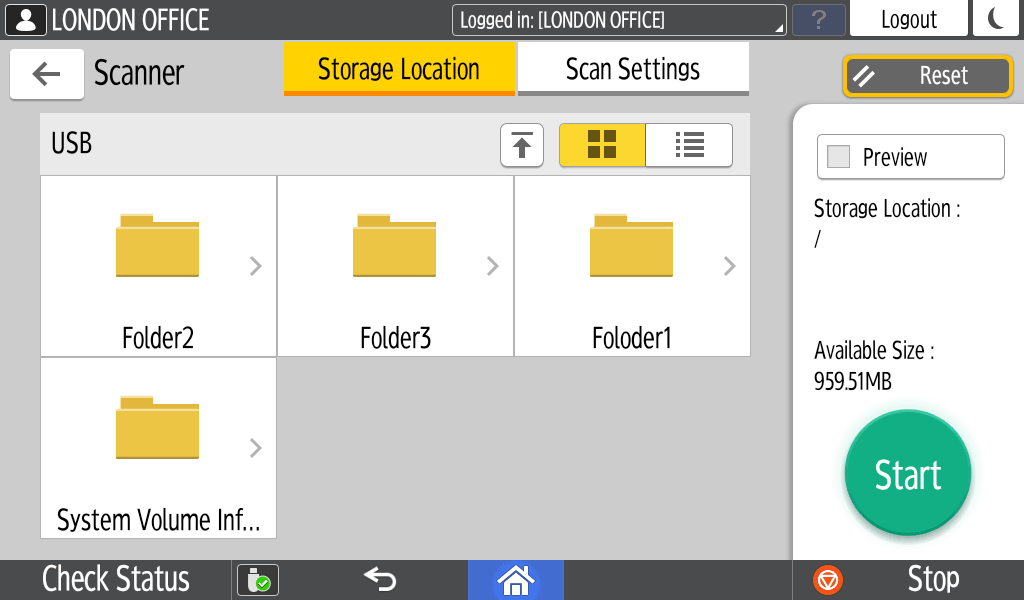
Specify the location to save the data.
Place the original on the scanner.
Placing an Original to ScanPress [Scan Settings] and specify the settings according to the purpose of the scanned document.
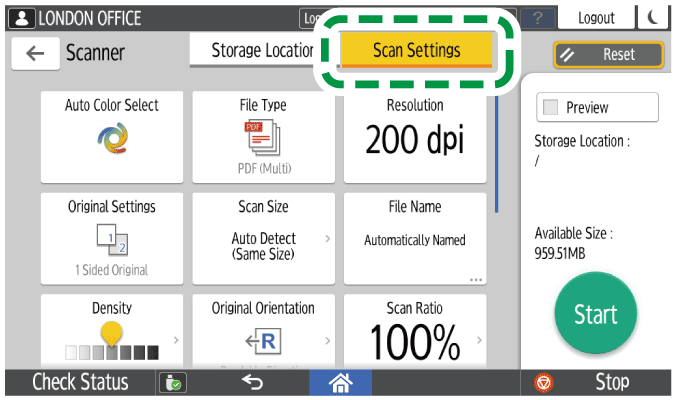
Scanning an Original with Suitable Quality and Density
Specifying the File Type or File Name When Scanning a DocumentPress [Start].
To continue scanning another original on the exposure glass, place the next original, and then press [Scan Next Original]. Press [Finish Scan] after scanning the original is completed.
When specifying [Preview], check the preview and then press [Save].
After saving the file, press the icon (
 ) displayed on the screen to disconnect the USB flash memory device.
Remove the USB flash memory device.

Certain types of USB flash memory device cannot be used.