Making a Backup or Restoring the Address Book
You can save the backup data of the address book and restore it when required.
You can back up and restore the address book data in UDF format using the control panel or Web Image Monitor.
Also, you can import and export the address book data in CSV format using the Web Image Monitor.

If administrator authentication is specified, the user administrator, or a custom-privileges administrator that has equal privileges can create a backup of or restore the address book.
To prevent eavesdropping of the data, encrypt the address book data before making a backup.
The data registered or changed after the backup was created will be lost when you restore the address book.
When restoring the address book, the following information registered using the address book is initialized:
Function |
Item |
|---|---|
Fax |
Destination of the send result e-mail Sender of sending documents Box Setting Box Setting Reception File Settings Reception File Settings Forwarding Destination in Program Special Sender Notify destination of Folder Transfer Result Report Stored Reception File User Setting Receiver of Back Up Transmission Settings |
Document Server |
Access privilege to the stored files |
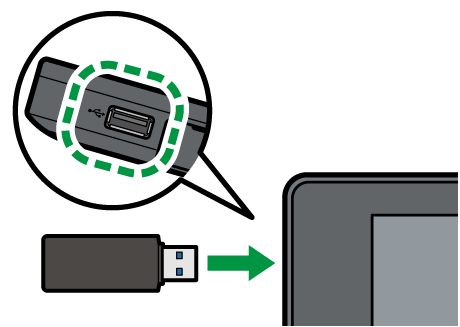
Insert an USB flash memory device into the media slot in the upper left part of the control panel.
Press [Address Book] on the Home screen.
Press [Management] on the Address Book screen.
Press [Back Up/Restore Address Book], and then backup or restore the address book.
To Backup
Press [Back up]
 [Start Backup] to store the address book data.
Use the following procedure to encrypt the address book data:
Select [Specify] in "Encryption Key".
Enter an encryption key using up to 32 single-byte alphanumeric characters.
Re-enter the encryption key in "Confirm Encryption Key".
Press [Start Backup].
To Restore
Press [Restore]
[Start Restore] to start the restoration process.
To restore the encrypted data of the address book, perform the procedure below.
-
Select [Specify] in "Encryption Key".
Enter an encryption key that you entered when backing up the address book.
Select [Start Restore].
After backup or restoring, press [OK].
Start the Web browser.
Enter "http://(IP address of the machine) or (host name)/" in the address bar of the Web browser.
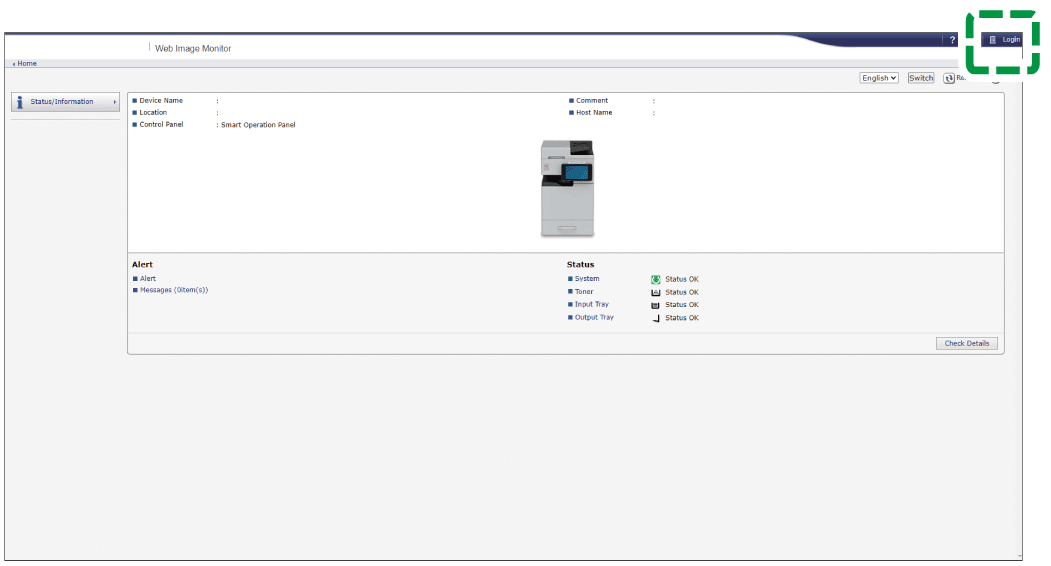
On the top page of Web Image Monitor, click [Login].
Enter the login user name and password of the user administrator, and then click [Login].
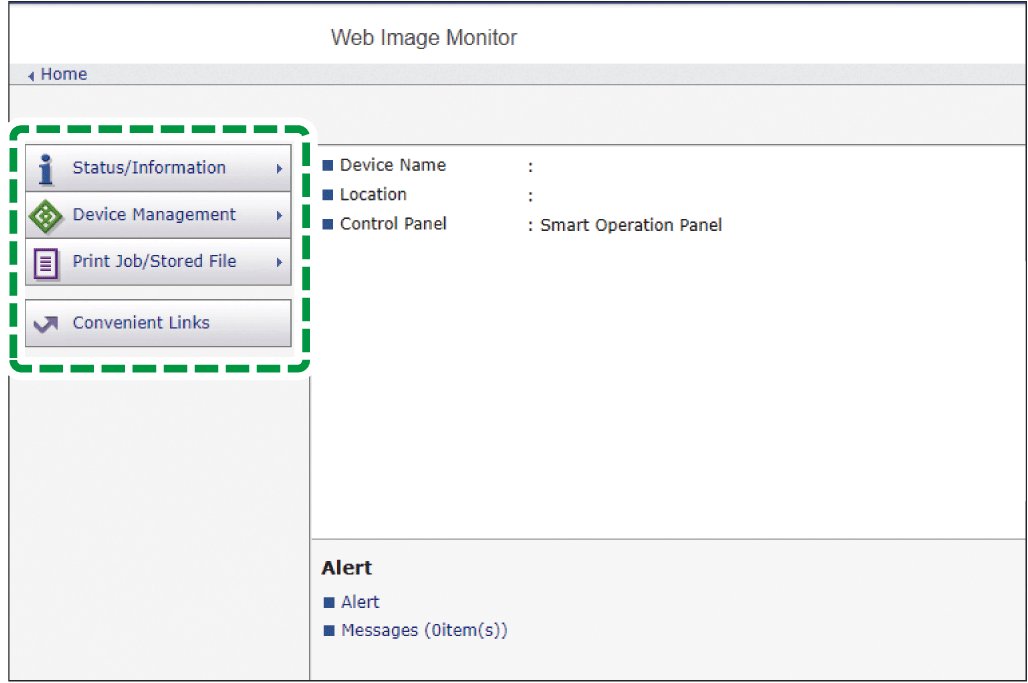
When custom-privileges administrators are registered, you can log in to the machine as a custom-privileges administrator with the Address Book privilege as well.Click [Address Book] on the [Device Management] menu.
On the [Address List] screen, click [Maintenance].
Backup or restore the address book.
To backup
Click [Backup] and specify the location to store the address book data, and the "Devicename_addr.udf" file is stored.
To encrypt the address book data, enter an encryption key using up to 32 single-byte alphanumeric characters, and then click [Backup]. Be careful not to forget the encryption key entered here. You are required to enter it again when restoring the data.
To restore
Click [Restore] and select the backup data of the address book to start the restoration process.
To restore the encrypted data of the address book, enter the encryption key specified when creating the backup, and then click [Restore].
After backup or restoring, click [Logout], and then close Web Image Monitor.
You can import and export the address book data in CSV format using the Web Image Monitor. This allows you to register the address book to the machine easily when you replace the machine or edit destinations or user information by CSV file at once.
Start the Web browser.
Enter "http://(IP address of the machine) or (host name)/" in the address bar of the Web browser.
On the top page of Web Image Monitor, click [Login].
Enter the login user name and password of the user administrator, and then click [Login].
When custom-privileges administrators are registered, you can log in to the machine as a custom-privileges administrator with the Address Book privilege as well.Click [Address Book] on the [Device Management] menu.
On the [Address List] screen, click [Maintenance].
Export or import the address book.
To export
Click [Export] and specify the location to store the address book data, and the "Devicename_addr.csv" file is stored.
To import
Click [Import] and select the export data of the address book to start the importing process.
After exporting or importing, click [Logout], and then close Web Image Monitor.

Do not edit the information in the address book by using the control panel while downloading the export file.
Password information will not be exported. Enter the password information again after exporting the file.
The data stored in the machine's address book will not be deleted when you import the file. If the same user exist in both the machine's address book and the exported file, the information will be overwritten as the information on the exported file when you import it.
The authentication method of the CSV file must be the same as the authentication method of the device to import the file.