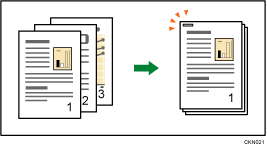
Each copy set can be stapled together.

![]()
You cannot use the bypass tray with this function.
Original orientation and staple position
To staple copy sets, place them in the unreadable orientation. When placing originals on the exposure glass, start with the first page to be copied. When placing originals in the ADF, set them so that the first page is on the top. For details about the orientation of originals, see Original Orientation.
Placing the original on the exposure glass |
Placing the original in the ADF |
Staple position*1 |
|
|---|---|---|---|
|
|
|
|
*1 The above tables show staple positioning. The orientation of the paper does not indicate the orientation of delivery.
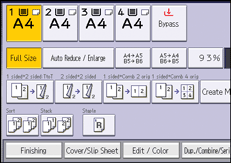
![]() Press [Finishing].
Press [Finishing].

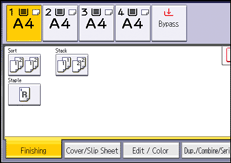
![]() Press [Staple].
Press [Staple].

When you select Staple, Sort is automatically selected.
![]() Press [OK].
Press [OK].
![]() Enter the number of copy sets with the number keys.
Enter the number of copy sets with the number keys.
![]() Select the paper tray.
Select the paper tray.
![]() Place the originals, and then press the [Start] key.
Place the originals, and then press the [Start] key.
![]()
The following type of paper cannot be stapled:
OHP transparencies
Label paper (adhesive labels)
Coated paper
Envelopes
Curled paper
Paper of low stiffness
You can specify how the machine responds if its memory becomes full during copying, or if the number of copies exceeds the capacity of the finisher:
Divides the copies into the number of sheets that can be stapled
Cancels the stapling job
When the number of copies exceeds tray capacity, copying stops. If this happens, remove the copies from the finisher tray to resume copying.
For details about the number of sheets that can be stapled together, the sizes, weights, and orientations of paper that can be stapled, and the number of copy sheets that the output tray can accommodate, see "Specifications", Maintenance and Specifications.
You can change the staple positions shown on the initial screen under [Input / Output] in User Tools. For details about staple positions, see Input / Output.


